|
|
Marshmallow Candy Snowmen
Originally Written by Elizabeth LaBau

Prep: 30 mins
Cook: 0 mins
Total: 30 mins
Servings: 12 servings
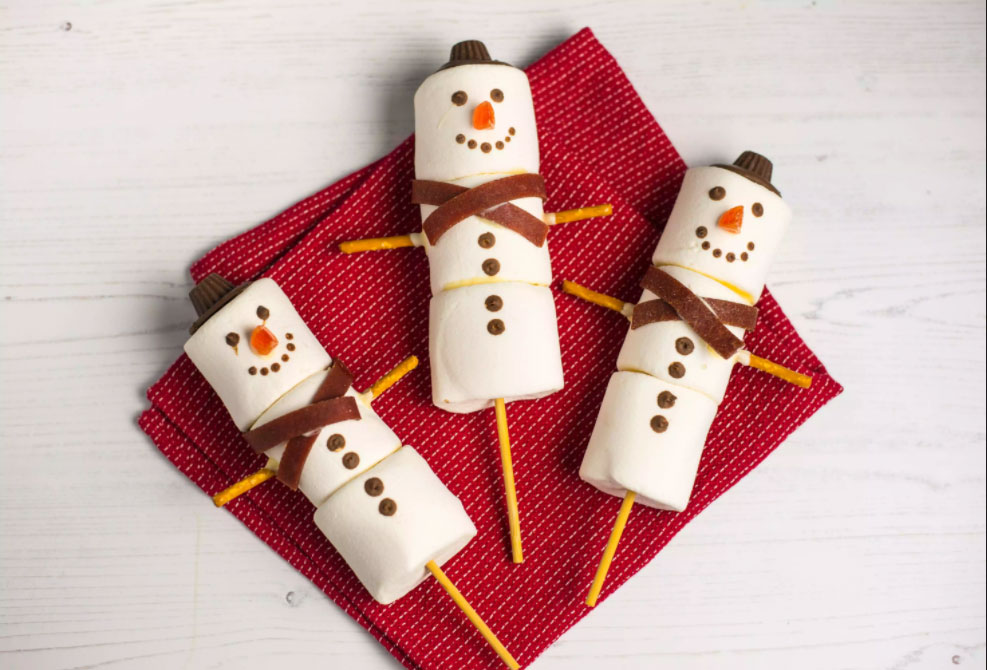
Kids and parents alike will love making and decorating these adorable marshmallow snowmen. This is the perfect impromptu project for a family, since it involves very little mess or down time. These snowmen are fast, foolproof, and fun. Serve them on sticks at a holiday party or package them individually as gifts or stocking stuffers. You can even make your snowmen look like friends and family members—experiment with different types of candy coating. Everyone will be delighted by these creative, festive treats.
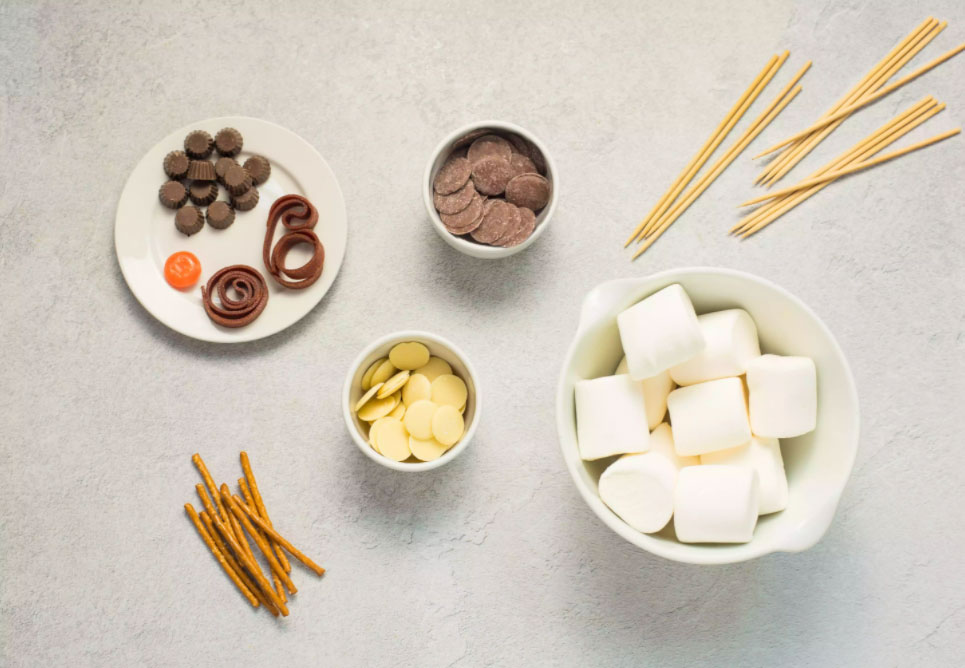
Ingredients
- 4 ounces white candy coating
- 36 large marshmallows
- 12 long wooden skewers
- 1 Fruit by the Foot (or 2 Fruit Roll-Ups, or similar fruit leather)
- 1 gummy orange slice (or other soft orange candy)
- 12 pretzel sticks
- 4 ounces chocolate candy coating
- 12 mini peanut butter cups (unwrapped)
Steps to Make It
01: Gather the ingredients
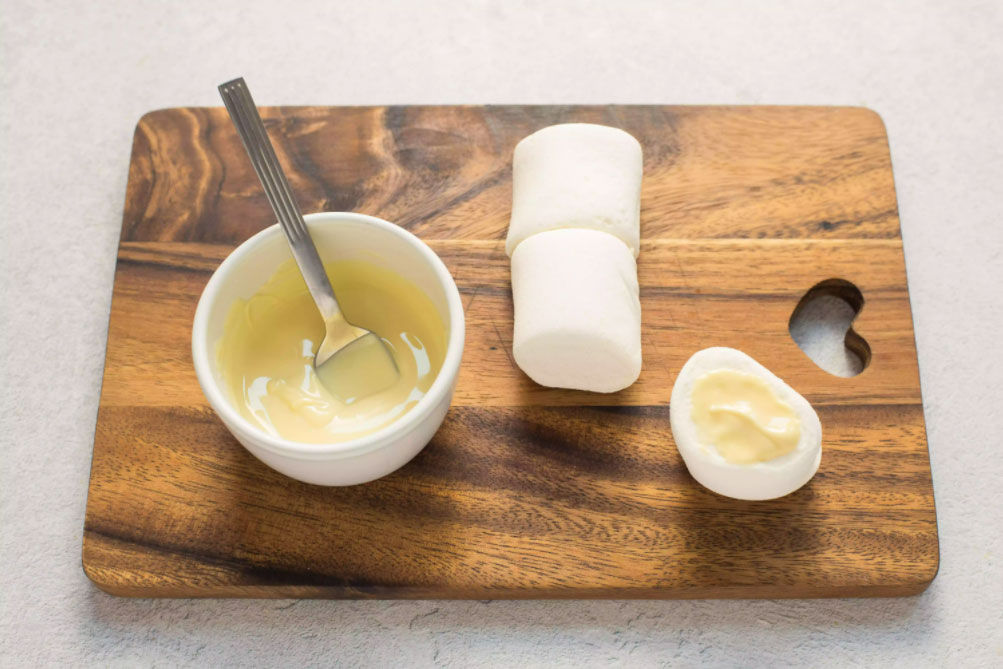
02: Melt the white candy coating in a microwave-safe bowl. Once melted and smooth, glue 3 marshmallows together by spreading a dab of melted coating between them. Repeat until you have 12 snowmen, each made up of 3 marshmallows.
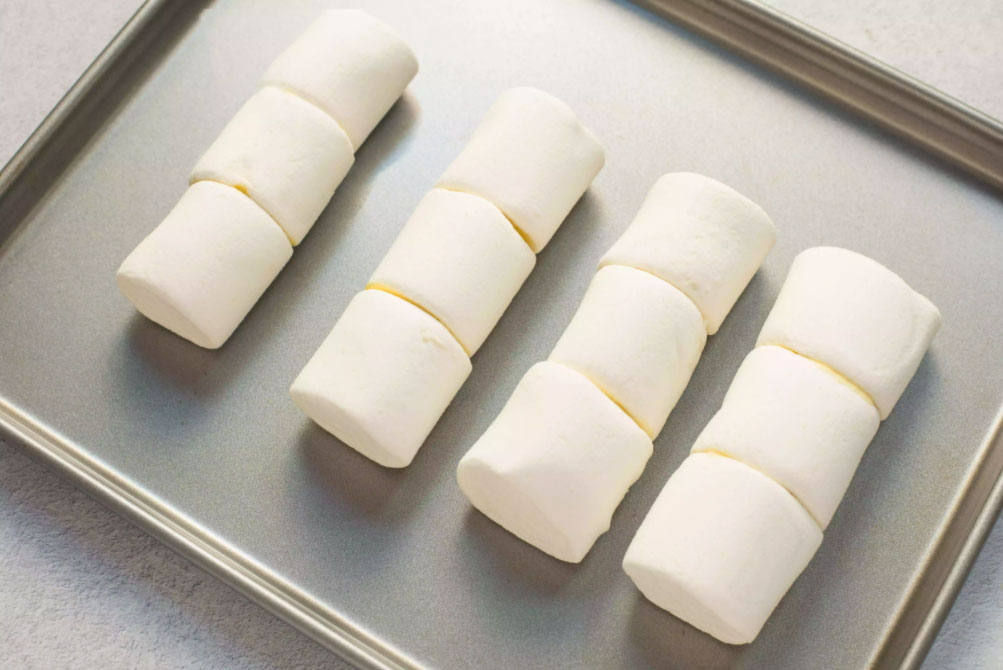
03: Place the snowmen on a baking sheet and refrigerate briefly to set the coating.
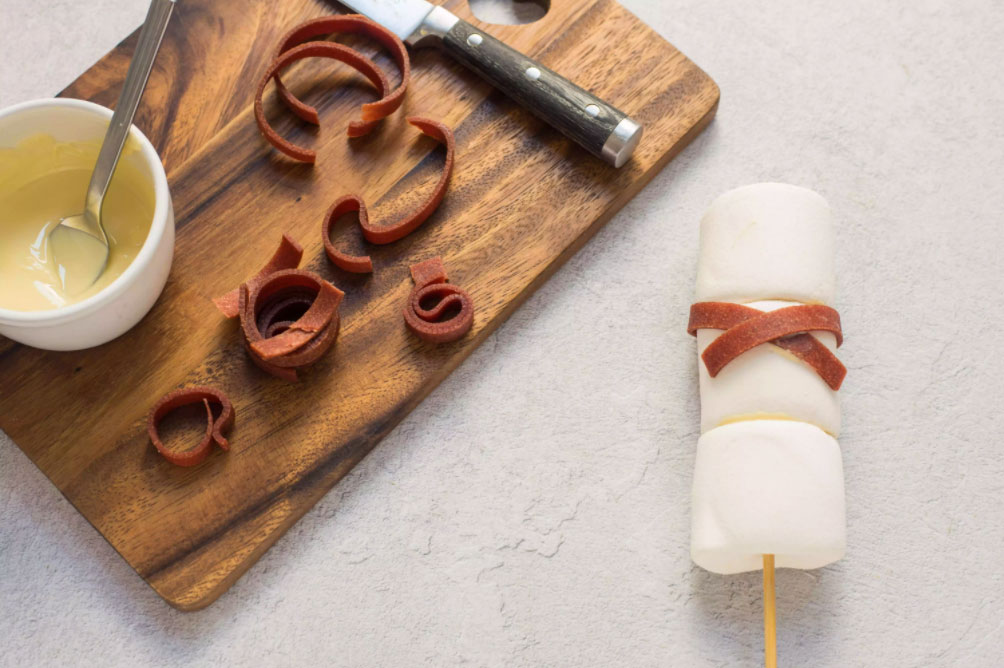
04: Carefully push a skewer into each snowman, making sure the skewer's tip stays hidden inside the marshmallow.

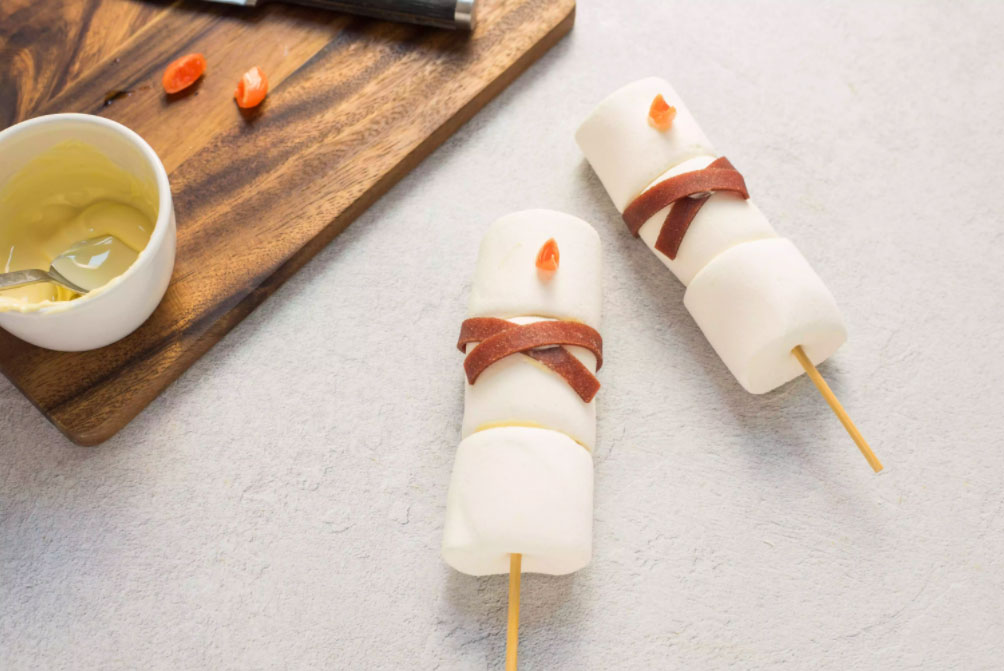
05: To make each snowman's scarf, slice the Fruit by the Foot into a narrow strip about 4 to 5 inches long and wrap it around the snowman's neck. A dab of candy coating will secure the scarf.
06: To make the nose, cut the gummy orange slice into small triangles and glue a triangle into the middle of each snowman's head with a drop of candy coating.
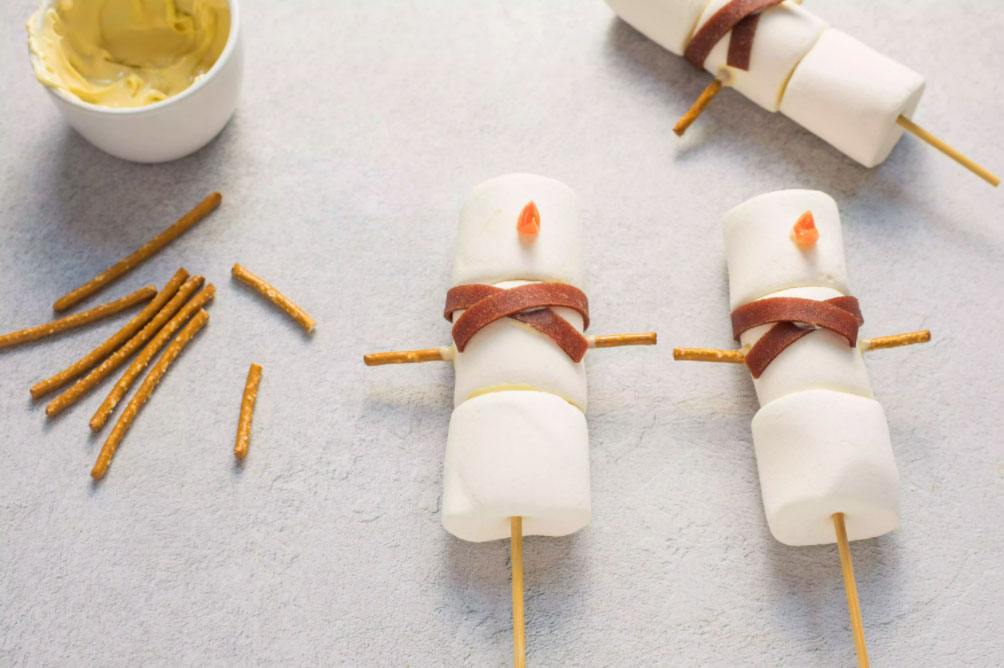
07: To make the arms, cut the pretzel sticks in half and dip the ends in the melted coating. Push the 2 pretzel pieces into opposite sides of each snowman's middle section.
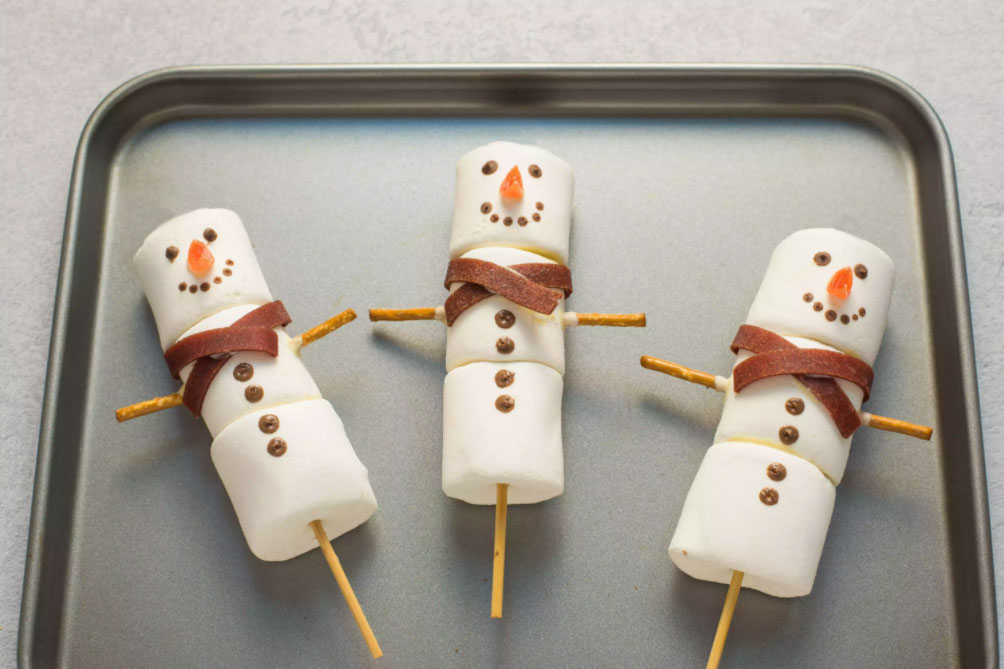
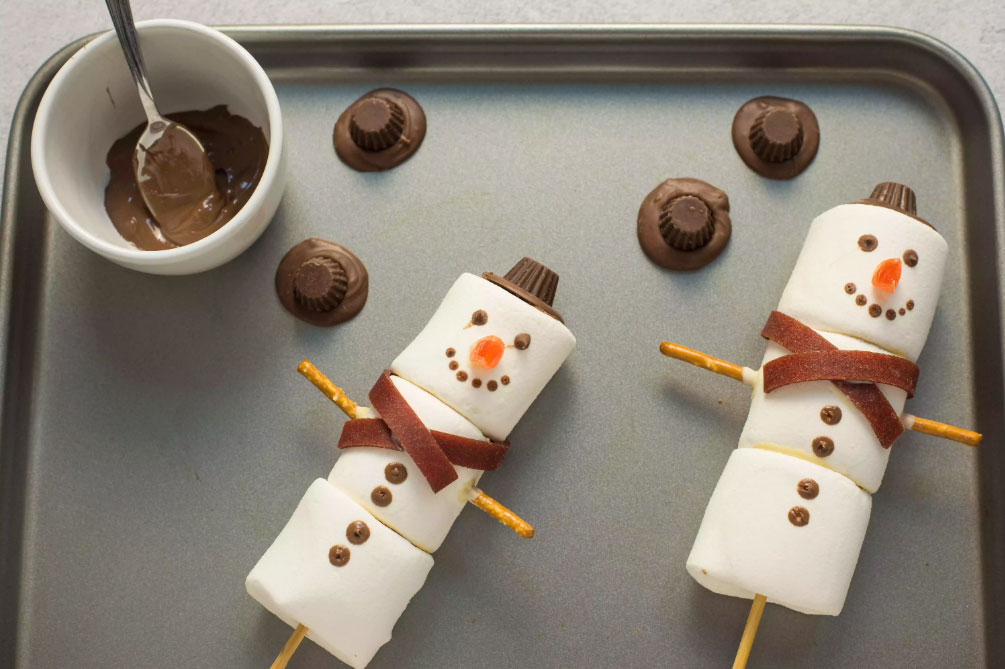
08: Melt the chocolate candy coating in a microwave-safe bowl. Using a toothpick (or an extra skewer), draw each snowman's eyes, mouth, and buttons with candy coating. Chill all of the snowmen in the refrigerator.
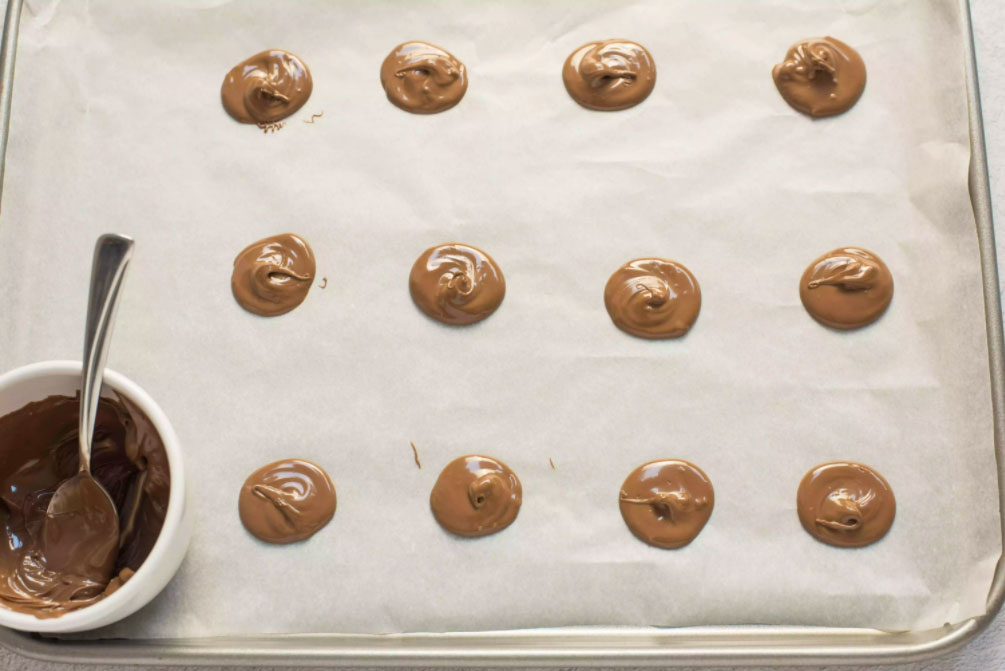
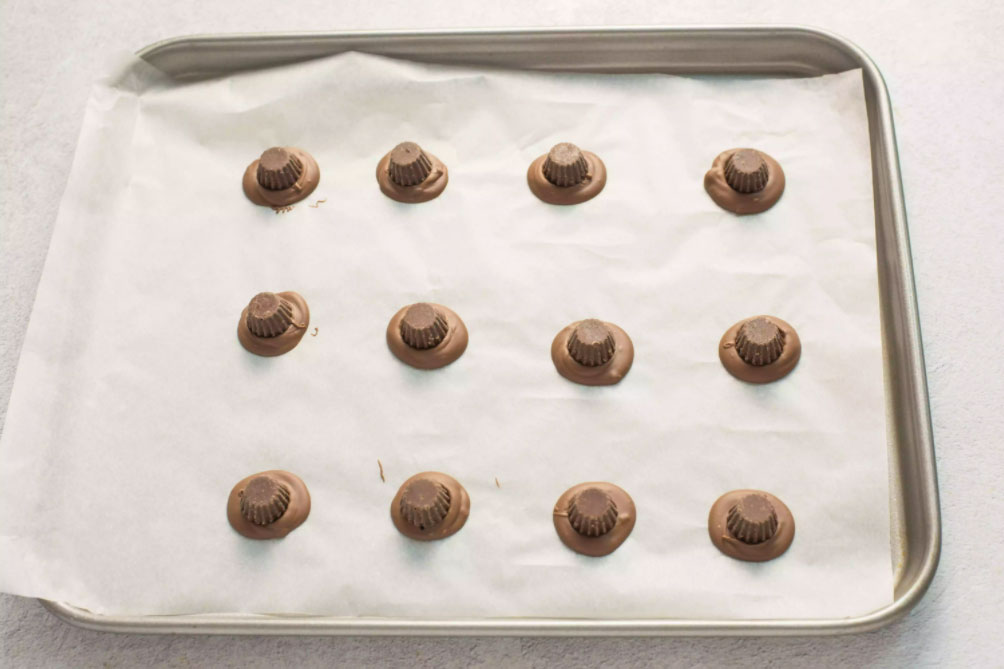
09: Line a baking sheet with wax paper or parchment paper. To make each snowman's hat, drop a teaspoon of chocolate candy coating onto the baking sheet, then tap the sheet against the counter; the coating should spread into an even disc, about 1 inch in diameter.
10: Press 1 peanut butter cup upside down onto each chocolate disc, then chill in the refrigerator until set.
11: Remove the snowmen and hats from the refrigerator. To finish your snowmen, dab chocolate coating onto the bottom of each hat, then press it firmly onto a snowman's head.
12: Once the candy coating has set, your snowmen are ready to serve and eat.
Recipe courtesy of The Spruce Eats by Elizabeth LaBau
|
|
|
|
